
Spring Start-Up Instructions:
We can’t specifically address the set up for every sprinkler system, but here are the basics on starting your sprinkler for the season. Please wait until the night time temperatures have been above freezing for a minimum of two weeks prior to attempting to start your system.

Step One: Check your valve box drains
There is at least one valve box in your yard. They are installed flush with the ground and have a green lid. If we installed your sprinkler, one will be straight out from the backflow device on the side of your house. You might have one for the front, one for the back and one small circular one near the house if you have drip irrigation. The larger your system, the more valve boxes you are likely to find.
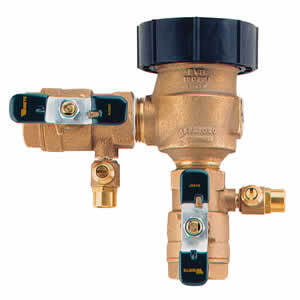
Open the box lid and check for any manual drains. If the box is full of dirt, gently move it out of the way, avoiding any wires in the process. A dirt-filled box is perfectly normal. Manual drains will look like a hose bib with a flat of round rubber coated handle. The majority of sprinklers installed in the last decade have auto drains (see photo on right).
You will also need to close any hose bibs or pool fill valves that may be connected to your sprinkler system.
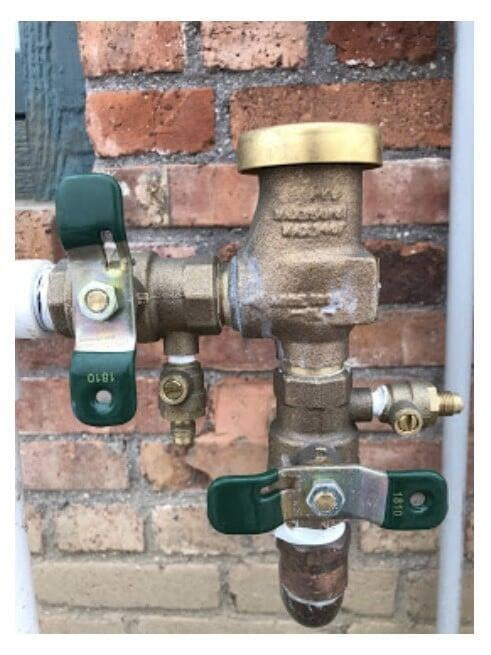
Step Two: Set your vacuum breaker/backflow device
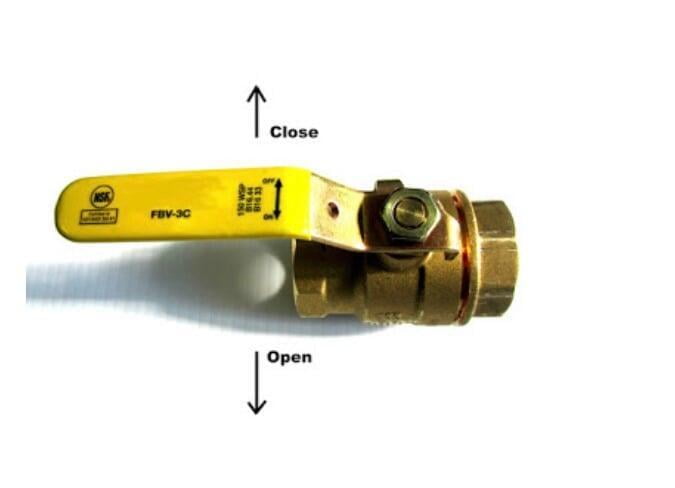
This is the brass device with two handles on the outside of your house. This will typically be found just above or outside where your water meter is in your home. You will need a small flat blade screwdriver for this step. If your sprinkler was properly winterized last fall, the handles should be a a 45 degree angle half way between the full on and full off position and the screws on the small test cocks below them should have the line on the head of the screw going with the pipe it is on, or in the open position. We are going to use the two-step method for setting the backflow, meaning that we are going to fully close the backflow, turn on the water inside and then come back and open it. If you forget the second part, your sprinkler isn’t going to run. Turn the two handles so they go across the pipe they are on (they sit in opposite directions, so one will be vertical and one horizontal). This step closes the two ball valves in the backflow. When that is done, use your screwdriver to turn the small screws on the test cocks 1/4 turn so that the line on the head of the screw is across the pipe rather than with the pipe. Turning these screws closes the test cocks which are essentially the drains for the backflow device. Check your work against the photo on the right. This backflow is fully closed.
Step Three: Turn on the water to the backflow
Step Three: Turn on the water to the backflow
Step Four: Open the Backflow
In step two we closed off the water flow to the backflow. If all is well and the water has stopped flowing from turning on the water in step three, then we return to the backflow device to open up the ball valves. You will need to turn both handles, one at a time, to the full open position. The position of the handles will vary depending on the positioning of your backflow device, but instead of having the handles across the pipe or fully closed, the handle will be laying in the same direction as the pipe it is on. Start with the ball valve that is closest to where the water comes out of the house. When you turn the handle, the device will spit and make some noise as water moves into it. When the backflow is full, the water will stop. If your device is freeze-damaged, this is the step where that problem is found. If water is spraying out anywhere other than a little spit out the top as it fills, turn off the backflow and call for service. If the device holds water then open the other handle to allow the water to flow out to the sprinkler system. Again, you will likely hear hissing and may get a little spitting of water out the top of the backflow device. This is normal and will stop as the device is re-pressurized.
Step Five: Test the system and set the controller
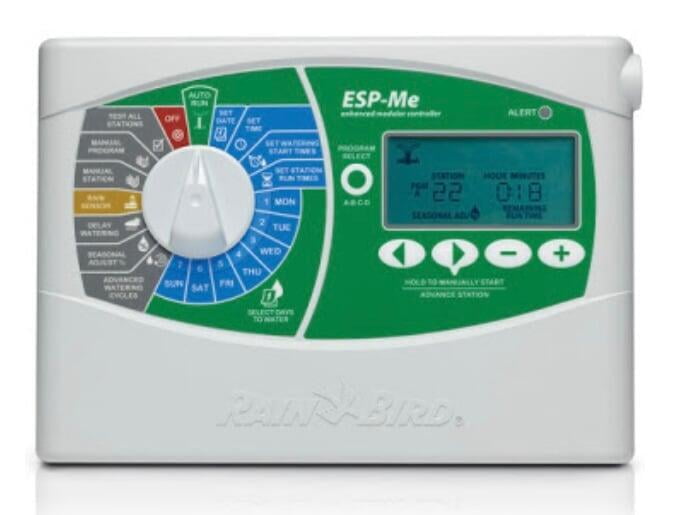
Now that the water is on downstairs and at the backflow it is time to make sure everything works well. Manually start your sprinkler system. Check each zone for proper operation. Walk your yard and check for leaks. After ensuring your system is operating properly, set your controller to run as needed. One or two days a week is more than adequate for early season watering. Better yet, hold off consistent supplemental watering as long as you can to give your awakening roots a chance to develop.